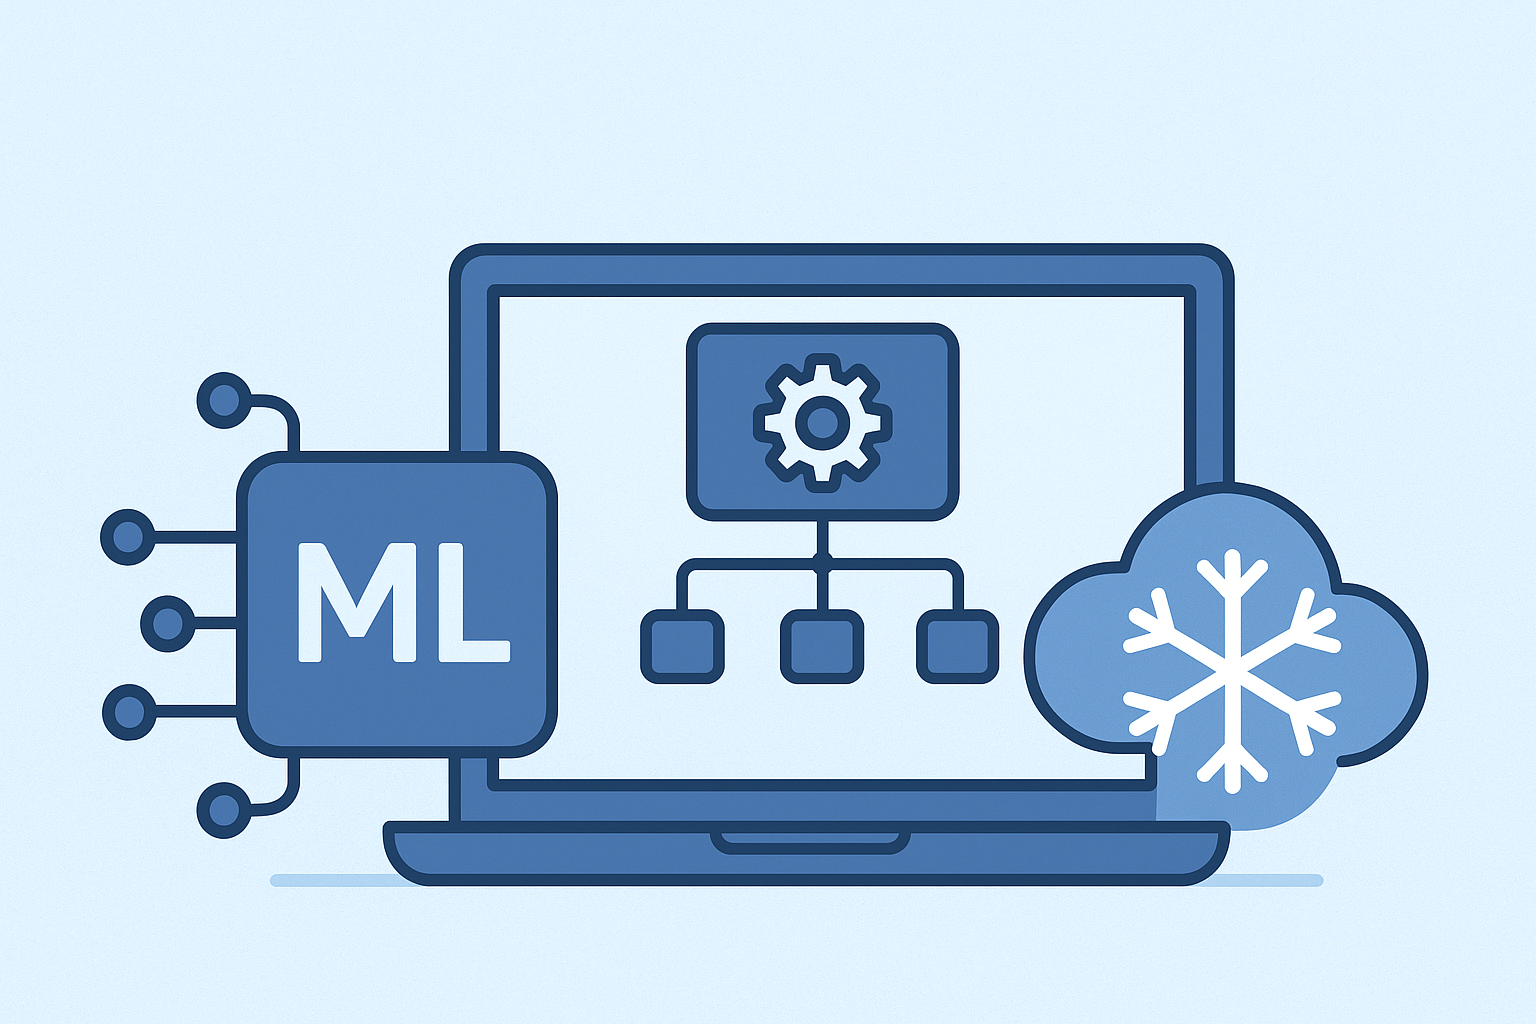
Why Snowflake for Machine Learning?
Let’s be real; a huge number of organizations have their data in Snowflake already. Moving that data out to train models somewhere else, then figuring out how to serve predictions back into Snowflake is a pain, especially when Snowflake’s machine learning capabilities let you build, train, and serve models right where your data lives.
I’ve seen teams waste weeks building pipelines to move data back and forth between their data warehouse and their ML infrastructure. Snowflake’s approach eliminates most of that complexity. Here’s what you need to know.
The Snowflake ML Ecosystem
Snowflake offers several ways to work with machine learning:
Snowpark ML: Python library for data preprocessing, feature engineering, and model training using familiar scikit-learn and XGBoost APIs. This is where most people should start. Use python worksheets or your favorite IDE.
Snowflake Model Registry: Central repository for storing, versioning, and managing ML models. Think of it as your single source for production models.
User-Defined Functions (UDFs): Deploy models as SQL functions that can be called directly in queries. This is how you serve predictions at scale.
Snowflake Cortex: Pre-built AI functions for common tasks like sentiment analysis and translation. Useful for quick wins without training custom models. Also usefule when you decide to make your move in Artificial Intelligence.
Building a Model: The Practical Approach
Step 1: Set Up Your Environment
First, install the Snowpark ML library in your Python environment:
pip install snowflake-ml-pythonConnect to Snowflake using your credentials:
from snowflake.snowpark import Session

connection_parameters = {
    "account": "your_account",
    "user": "your_username",
    "password": "your_password",
    "role": "your_role",
    "warehouse": "your_warehouse",
    "database": "your_database",
    "schema": "your_schema"
}

session = Session.builder.configs(connection_parameters).create()
Step 2: Prepare Your Data
The thing about Snowflake ML is you’re working with DataFrames that stay in Snowflake. No massive data downloads to your local machine.
from snowflake.snowpark.functions import col

# Load your training data
df = session.table("CUSTOMER_CHURN_DATA")

# Basic feature engineering
df = df.with_column("TENURE_MONTHS", col("TENURE") * 12)
df = df.with_column("AVG_MONTHLY_SPEND",
                     col("TOTAL_SPEND") / col("TENURE_MONTHS"))

# Split into train and test
train_df, test_df = df.random_split([0.8, 0.2], seed=42)
The data never leaves Snowflake during this process. That’s a big deal when you’re working with millions of rows.
Step 3: Train Your Model
Snowpark ML uses the same scikit-learn API you already know. Here’s a simple example with XGBoost:
from snowflake.ml.modeling.xgboost import XGBClassifier
from snowflake.ml.modeling.preprocessing import StandardScaler

# Define features and target
feature_cols = ["TENURE_MONTHS", "AVG_MONTHLY_SPEND",
                "NUM_SUPPORT_TICKETS", "CONTRACT_TYPE"]
target_col = "CHURNED"

# Scale features
scaler = StandardScaler(
    input_cols=feature_cols,
    output_cols=[f"{c}_SCALED" for c in feature_cols]
)
train_df = scaler.fit(train_df).transform(train_df)

# Train the model
model = XGBClassifier(
    input_cols=[f"{c}_SCALED" for c in feature_cols],
    label_cols=[target_col],
    output_cols=["PREDICTION"]
)

model.fit(train_df)
Training happens in Snowflake’s compute warehouse. You’re using their hardware, not your laptop.
Step 4: Evaluate Model Performance
from snowflake.ml.modeling.metrics import accuracy_score, roc_auc_score

# Generate predictions
predictions = model.predict(test_df)

# Calculate metrics
accuracy = accuracy_score(
    df=predictions,
    y_true_col_names=[target_col],
    y_pred_col_names=["PREDICTION"]
)

print(f"Model Accuracy: {accuracy}")

# For classification, check AUC-ROC
auc = roc_auc_score(
    df=predictions,
    y_true_col_names=[target_col],
    y_score_col_names=["PREDICTION"]
)

print(f"AUC-ROC Score: {auc}")
Serving Models: Making Predictions at Scale
Training a model is one thing, serving it in production is another. Snowflake gives you three main options.
Option 1: Model Registry + UDFs (Recommended)
This is the most robust approach for production deployments:
from snowflake.ml.registry import Registry

# Create registry
reg = Registry(session=session)

# Log your model
model_ref = reg.log_model(
    model_name="churn_predictor_v1",
    version="1.0",
    model=model,
    conda_dependencies=["xgboost", "scikit-learn"]
)

# Deploy as a UDF
model_ref.deploy(
    deployment_name="predict_churn",
    target_method="predict"
)
Now you can call your model directly in SQL:
SELECT
    customer_id,
    predict_churn(
        tenure_months,
        avg_monthly_spend,
        num_support_tickets,
        contract_type
    ) AS churn_prediction
FROM customers
WHERE account_status = 'ACTIVE';
This runs at Snowflake scale. A billion rows? No problem. The predictions happen in parallel across your compute warehouse.
Option 2: Direct Prediction in Snowpark
For batch scoring jobs, you can predict directly on DataFrames:
# Load new data
new_customers = session.table("NEW_CUSTOMERS")

# Apply the same preprocessing
new_customers = scaler.transform(new_customers)

# Generate predictions
predictions = model.predict(new_customers)

# Save results back to Snowflake
predictions.write.mode("overwrite").save_as_table("CHURN_PREDICTIONS")
Option 3: Snowflake Cortex LLM Functions
For certain use cases, you don’t need to train anything. Snowflake Cortex provides a few pre-built models:
SELECT
    customer_id,
    feedback_text,
    SNOWFLAKE.CORTEX.SENTIMENT(feedback_text) AS sentiment_score,
    SNOWFLAKE.CORTEX.CLASSIFY_TEXT(
        feedback_text,
        ['product_issue', 'billing_question', 'general_inquiry']
    ) AS category
FROM customer_feedback;
These are ready to go. No training required.
Real-World Performance Considerations
Here’s what I’ve learned from actually deploying these models:
Warehouse sizing matters: Training and inference run on your compute warehouse. A small warehouse might struggle with millions of rows. I typically use a Medium or Large warehouse for training, and can drop down to Small for batch predictions.
Caching is your friend: Snowflake caches query results. If you’re scoring the same dataset multiple times during development, you’ll see dramatic speedups after the first run.
Feature stores make life easier: If you anticipate features being useful in other cases, or if you want to continually update features with new data, create a dedicated table or view with your pre-computed features. Don’t recalculate everything on every prediction.
Version everything: Use the Model Registry. Seriously. When something breaks in production (and it will), you need to know exactly which model version was deployed and what data it was trained on.
Monitoring and Maintenance
Once your model is in production, you need to watch for drift:
-- Track prediction distribution over time
CREATE OR REPLACE TABLE prediction_monitoring AS
SELECT
    DATE_TRUNC('day', prediction_timestamp) AS prediction_date,
    AVG(churn_prediction) AS avg_predicted_churn,
    COUNT(*) AS num_predictions
FROM churn_predictions
GROUP BY DATE_TRUNC('day', prediction_timestamp)
ORDER BY prediction_date DESC;
Set up alerts when your predictions start looking weird. If you’re normally predicting 15% churn and suddenly you’re seeing 40%, something’s wrong with either your model or your data.
Cost Optimization Tips
ML workloads can get expensive if you’re not careful:
Use warehouse auto-suspend: Set your warehouse to suspend after 1-2 minutes of inactivity. Training jobs might take 10 minutes, but you don’t need to pay for 50 minutes of idle time.
Right-size your warehouse: Don’t default to X-Large for everything. Test with smaller warehouses first. I’ve seen models train perfectly fine on Medium warehouses that people assumed needed X-Large.
Batch your predictions: Instead of scoring records one at a time, batch them. Score all your customers once per day, not every time someone loads a dashboard.
Use Snowpark optimized warehouses: These are specifically designed for ML workloads and can be more cost-effective than standard warehouses for certain operations.
Common Gotchas
Data type mismatches: Snowflake is strict about data types. If your model expects a FLOAT but you pass an INTEGER, you’ll get errors. Cast everything explicitly.
Null handling: Decide upfront how you’ll handle nulls. Snowflake won’t automatically drop or impute them. You need to handle this in your preprocessing.
Model dependencies: When you log a model to the registry, make sure you specify all conda dependencies. Missing a package version will cause deployment failures.
Testing in dev first: Always test your UDFs in a dev environment. A broken model function in production can take down queries across your organization.
Bottom Line
Your data is already in Snowflake. Your analysts already know SQL. Your data engineers already manage Snowflake infrastructure. Building and serving models in the same platform eliminates a ton of headaches.
Start with a simple classification or regression problem. Get one model into production as a UDF. Once you see how easy it is to call that model in SQL queries and downstream pipelines, you’ll find more use cases.
The platform is mature enough for production use, and it’s only getting better. If you’re already on Snowflake and need ML capabilities, this is the path of least resistance.
Comments
One response to “Building and Serving ML Models in Snowflake”
[…] dashboards. And DATASCIENCE_WH runs X-Large but only spins up when their data scientists need to train ML models in Snowflake. They pay for what they […]